| Drive Your Workforce to Achieve Greater Goals |
| Sign Up Now |
 |
| Drive Your Workforce to Achieve Greater Goals |
| Sign Up Now |
|
| Web | Mobile |
 |
TimeTec Payroll |
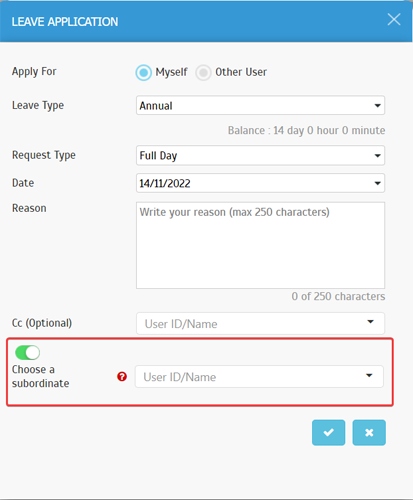
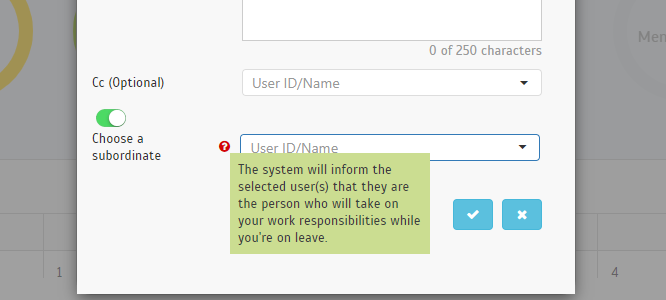
| Do you usually need to delegate work or ask a colleague to follow-up urgent work when you take time off? For those that follow this practice, we’ve added a new setting that allows you to choose the name of the user(s) who will follow up your work while you are on leave. System will provide notification to those involved including the Approver so everyone is aware of who to look for during the leave period. This feature is currently available at TimeTec Leave Web and TimeTec HR app. Refer to the images below for further details: a. Leave Application – Added “Choose a subordinate” |
 |
 |
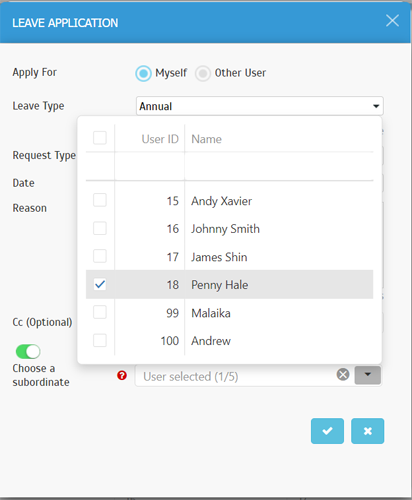
| b. Leave Application – “Choose a subordinate” User Selection User may choose up to 5 users to be notified that they are to follow-up on the user’s tasks. |
 |
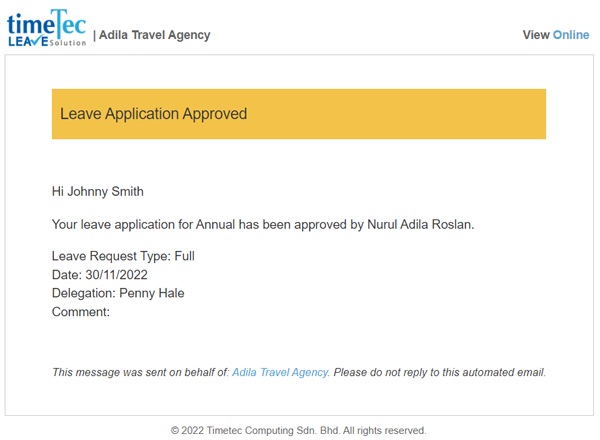
| c. Leave Application Approved Email – Display Delegation If the user enabled the follow up option, the leave approved email will display the list of follow up person(s) in email and notification at TimeTec HR. |
 |
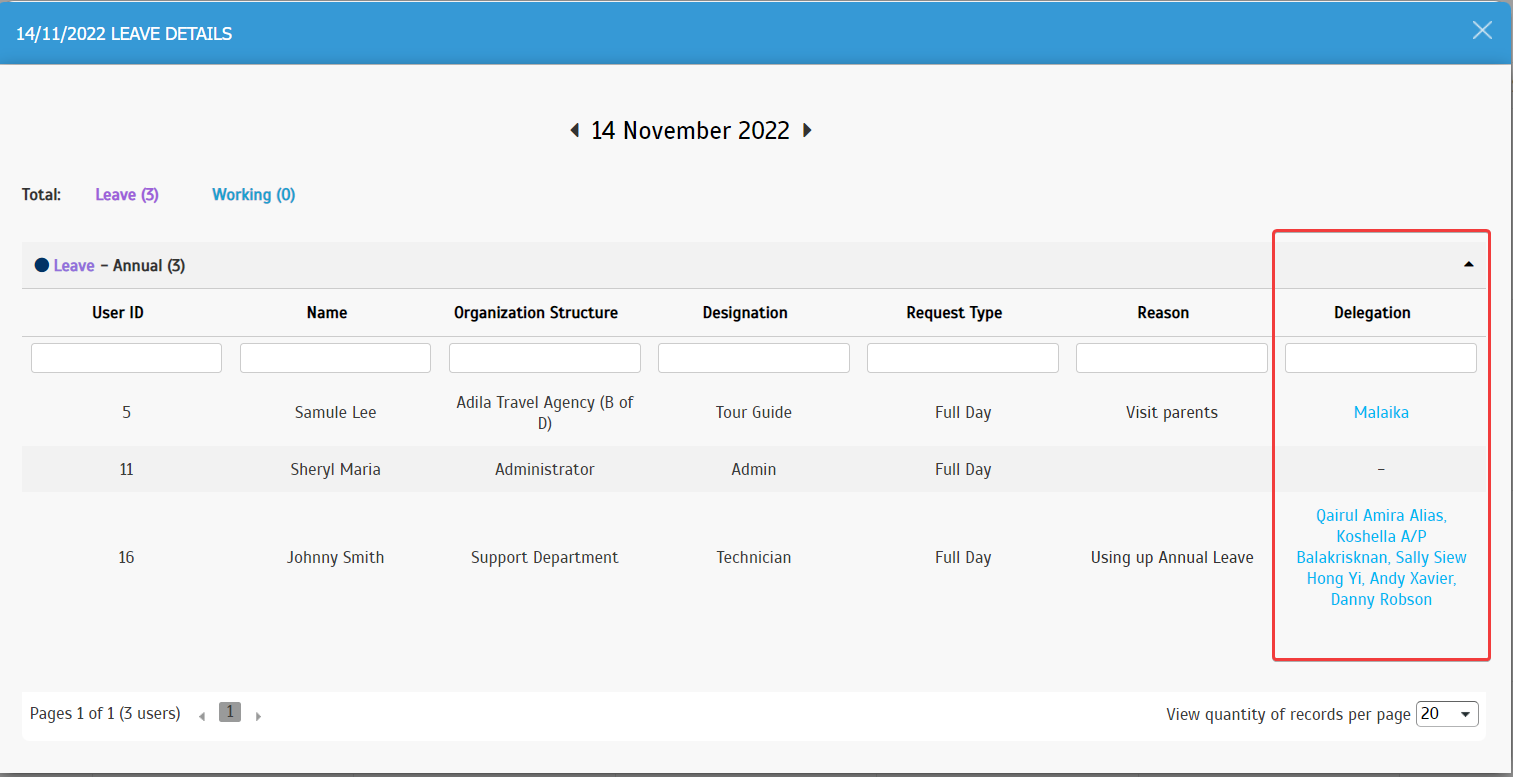
| d. Display follow up person at Leave Overview > Leave Details. |
 |
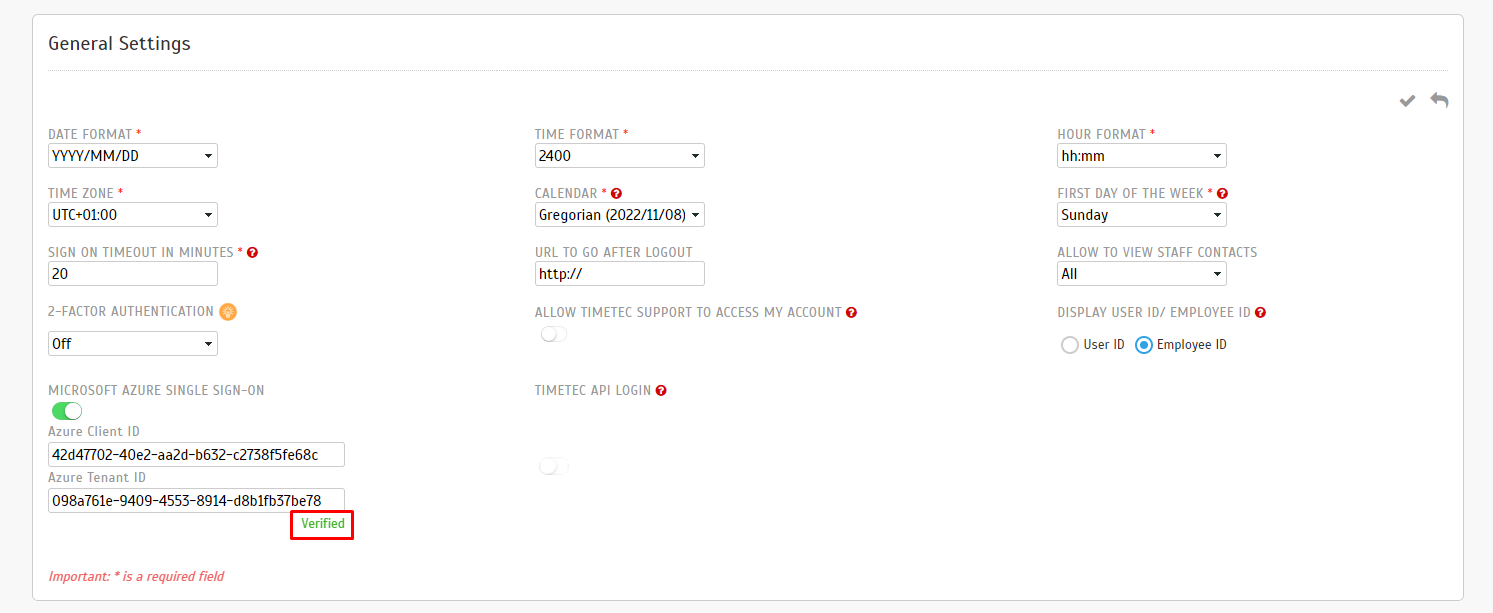
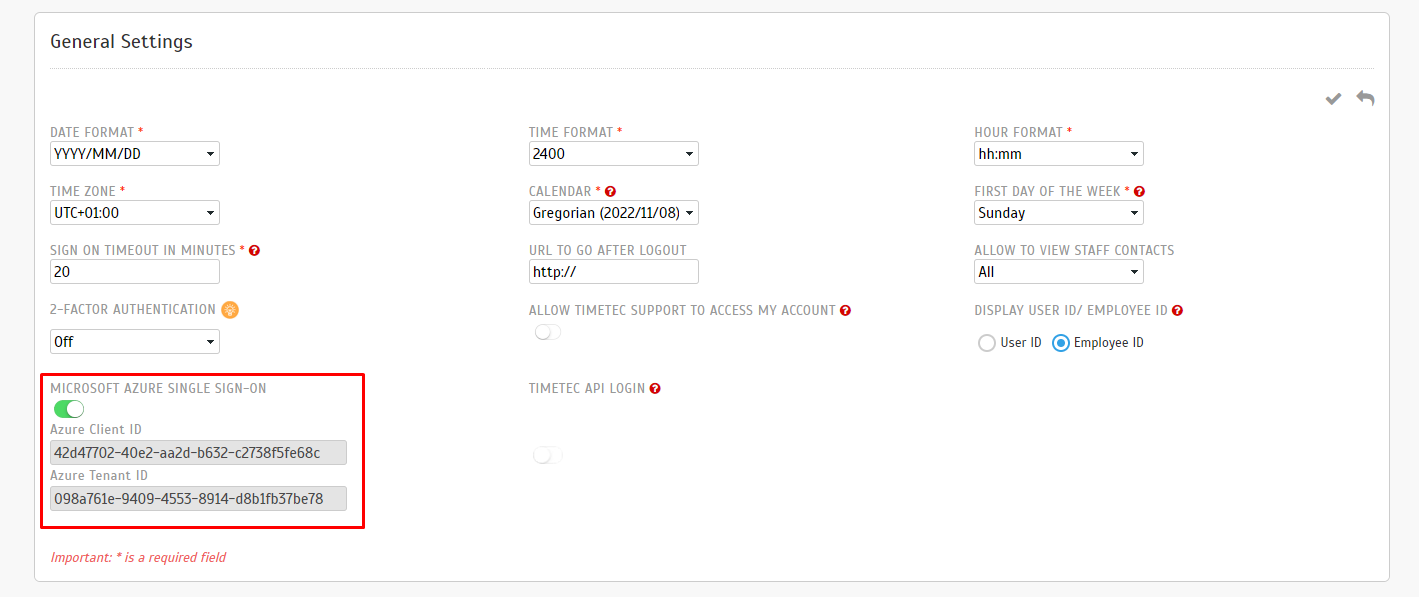
| In November, we added a new setting to support customers that are using Azure Active Directory (Azure AD) to manage user access and authentication for multiple independent software systems. One of the Azure AD features is Azure AD Single Sign-On (SSO) which allows users to use one set of credentials to log into multiple SaaS applications without needing to log into each individual application. Please refer to the sample screenshots below for further details: a. General Settings – Added “Microsoft Azure Single Sign-On” Setting Users are able to turn on the Azure SSO settings. |
 |
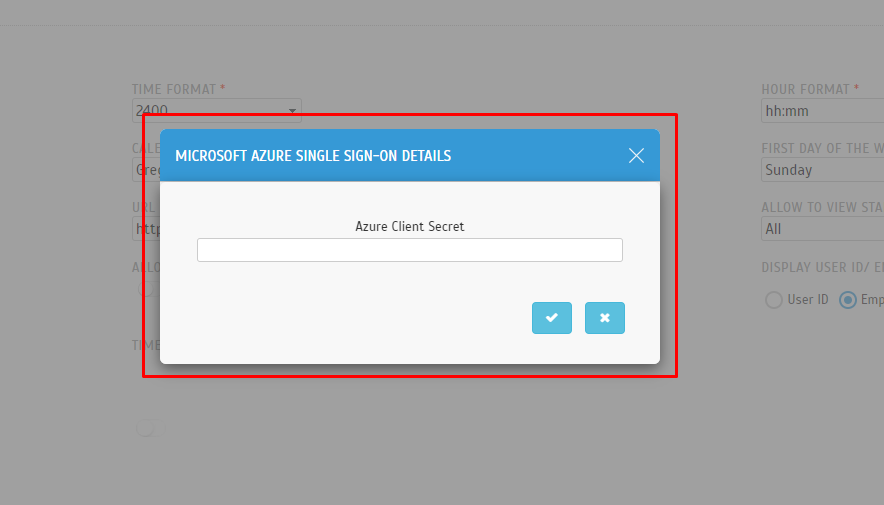
| b. “Microsoft Azure Single Sign-On” Setting – Enabled
• When Azure SSO setting is turned on, users are required to fill up Azure Client ID and Azure Tenant ID. Once done, click the “Verify” button. • Next, fill up the Azure Client Secret to verify Azure Client ID and Azure Tenant ID. |
 |
 |
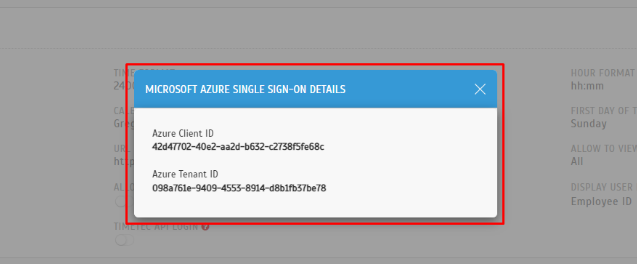
| c. “Microsoft Azure Single Sign-On” Setting (View Mode) Users can click `Details` hyperlink to view the Client ID and Tenant ID registered to the account. |
 |
 |
| d. “Microsoft Azure Single Sign-On” Setting (Edit Mode) - Not Allowed to Edit Azure SSO Admin is not allowed to edit Azure SSO after it is saved. |
 |
| Previous Issue: | ||||||||||
|
|
|
||||||||


